- How is a
3D image created?
Rather than present you with a wall of boring text you
probably won't understand, let me just show you how it is done.
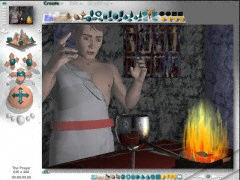
This is how I go about creating an image using a
program called Bryce 3D by Metacreations. I will take apart the temple I used in my image
"The Prayer" to show you firsthand how its done.
This is how the image looked through my camera in my 3D world:

Lets have a better look at the temple by using an overhead view:
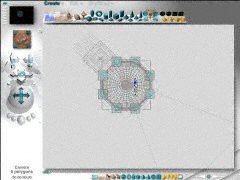
Oops! I suppose it would help if I removed the roof of the temple so you
can see inside!:
There, now you can see the entrance, torches, altar, priests, columns,
wall sections, etc. Some of these "building blocks", such as the walls and
columns, are themselves comprised of several pieces. Each wall section for instance, is
actually built from nine smaller pieces - to include a stained glass window.
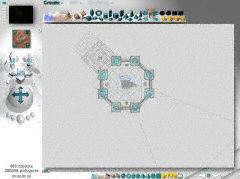
Let me go back a a more "normal" viewing angle but point my
"camera" at the wall for you.
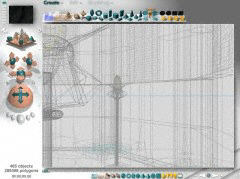
Once the wire model is made, the image is still not ready for
"rendering". I still have to consider lighting, color, and texture. This is the
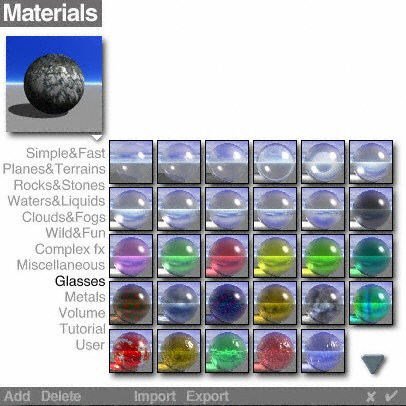
screen from Bryce 3D's materials lab where you create your color and textures for your
objects.
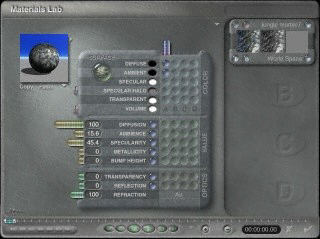
You can save your own custom made materials along with the presets in a library to
allow for easy re-use. Here are you can see some of the possibilities for glass.
The single most important part to a 3D image is the light. If you
understand light, you can create stunning 3D artwork. Light can be extremely complicated.
When you look at the image "The Prayer" in my Art Gallery you should note the
reflection of the temple in the brushed silver chalice, and the ways the multiple torches
cast complex shadows upon the priest and altar. Those features in an image only come about
by making the light behave the way I want it to, its intentional.
Once everything is ready, I then "render" the image. This draws
the final image you see. Here is the finished (rendered) product:
Because Bryce 3D is intended as a landscaping program,
it's rendering times are not optimized for non-landscape images. However, if I had
to choose between using an entry level package such as Bryce 3D at about $180 and
developing a bit of patience, or not doing this at all because I don't have a $10,000+
system, I'll choose the Bryce 3D option.
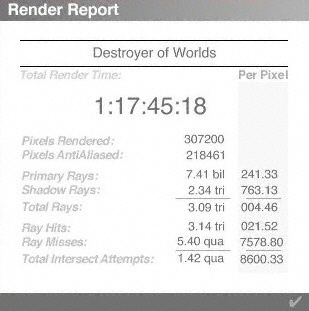
Render time in days:hours:minutes:seconds
After all, what I hope the viewer remembers is that they went to an Art
Gallery, and they (hopefully) liked what they saw. Isn't it the quality of the final image
that counts?, not the fact that one artist used a more expensive brush, or paint, or
software package than another? Feel free to leave your thoughts in the Guestbook. |